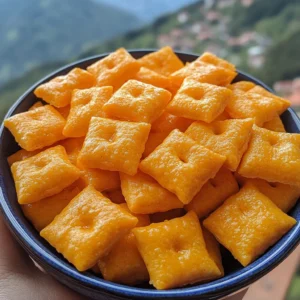
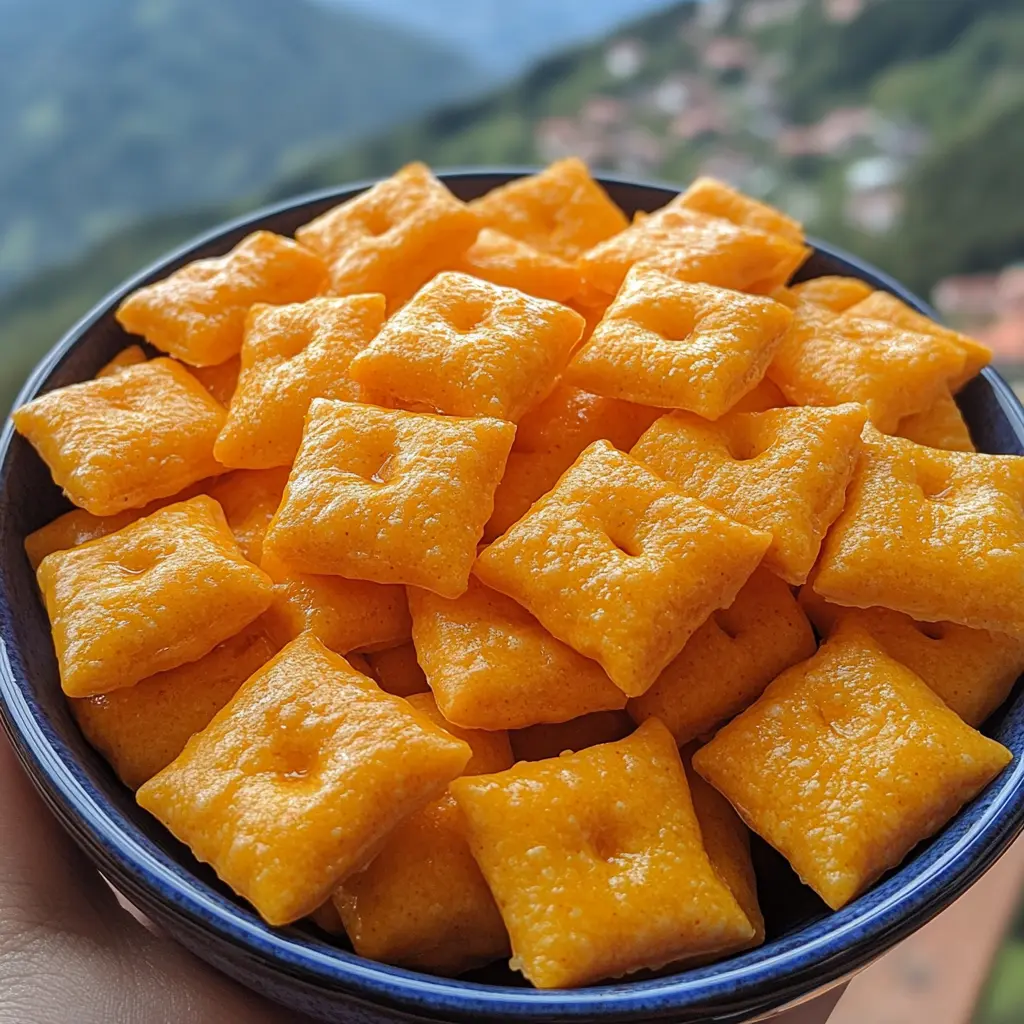
Who needs store-bought snacks when you can whip up these homemade Cheez-Its? They’re buttery, crispy, and loaded with cheesy goodness. Perfect for movie nights, road trips, or anytime snacking. Trust me, once you try these, there’s no going back!
What Makes These Crackers So Good?
These crackers are everything you love about the store-bought version—crunchy, cheesy, and addictive—but even better because they’re homemade. You control the flavor, the ingredients, and the level of crispiness. Plus, they’re super fun to make!
Whether you’re into experimenting with flavors or just want to snack smarter, this recipe has you covered.
What You’ll Need
Cheddar Cheese: Go for sharp cheddar for that bold flavor. Grating it yourself makes all the difference!
Flour: Good ol’ all-purpose flour does the trick.
Butter: Cold, unsalted butter adds all the flaky magic.
Spices: A little garlic powder, onion powder, paprika, and cayenne kick up the flavor.
Ice Water: Just a splash to bring it all together.
How to Make Cheesy Magic

1. Mix It Up: Shred the cheddar and toss it into a food processor with the flour, butter, and spices. Pulse until the mix looks like crumbs. Slowly add ice water until the dough starts to come together.
2. Chill Out: Knead the dough a few times to smooth it out, wrap it in plastic, and pop it in the fridge for about an hour.
3. Roll & Cut: Roll out half the dough to about ⅛ inch thick. Slice it into 1-inch squares and poke a little hole in the middle of each (it’s all about that classic look!).
4. Bake ‘Em Up: Line a baking sheet with parchment, spread out the squares, and bake at 375°F for about 14–15 minutes. You’ll know they’re done when they’re golden and crispy. Let them cool on the tray.
5. Keep It Going: Repeat with the rest of the dough. Gather up the scraps, roll them out, and bake them too—no cheese left behind!
Pro Tips for Perfect Crackers
- Fresh Cheese Is Best: Skip the pre-shredded stuff. Freshly grated cheese melts better and tastes way better.
- Keep It Cool: Cold butter and chilled dough make the crispiest crackers.
- Don’t Rush the Bake: Let them get good and golden for that signature crunch.
- Store Right: Cool completely before storing in an airtight container—nobody likes soggy crackers.
Fun Ways to Switch Things Up
Want to mix it up? Try swapping cheddar for Parmesan or Gouda. Or add toppings like sesame seeds or chili flakes for extra flavor. The possibilities are endless!
FAQs for Homemade Cheez-Its
1. Can I use pre-shredded cheese?
While it’s tempting, it’s best to grate the cheese yourself. Pre-shredded cheese often has anti-caking agents that can affect the texture of your crackers. Freshly grated cheese gives you the best flavor and crunch!
2. Can I use a different type of cheese?
Absolutely! Feel free to experiment with different cheeses like Gouda, Parmesan, or even pepper jack for a spicy twist. Just keep in mind that each cheese will bring its own flavor and texture to the crackers.
3. How do I keep the crackers crispy?
Let the crackers cool completely on the tray before storing them. If they’re still warm when stored, they might lose their crunch. Once cooled, store them in an airtight container to keep them crispy.
4. Can I freeze these crackers?
Yes! These crackers freeze really well. Once baked and cooled, just place them in an airtight bag or container and freeze for up to a month. When you’re ready to eat them, just pop them in the oven for a few minutes to crisp them back up.
5. How thick should I roll the dough?
Aim for about ⅛ inch thickness. This gives the crackers that perfect balance of crispy and crunchy without being too thick or too thin.
6. Can I make these crackers dairy-free?
You can substitute the butter with a dairy-free option like margarine or a plant-based butter. You can also try a dairy-free cheese, though the flavor and texture may vary slightly.
7. How do I prevent the crackers from sticking to the pan?
Line your baking sheet with parchment paper before placing the crackers on it. This will help prevent sticking and ensure they bake evenly.
8. How long will these homemade Cheez-Its last?
If stored properly in an airtight container, these crackers will stay fresh for about a week. Just make sure they’re completely cool before storing to maintain that crispy texture.
Once you try these homemade Cheez-Its, you’ll never go back to the box. They’re crunchy, cheesy, and so much fun to make. Grab your favorite cheese and get baking—you’ve got snacks to make!

Homemade Cheez-Its Recipe
Ingredients
- 8 ounces block sharp cheddar cheese
- 1 cup all-purpose flour
- 4 tablespoons unsalted butter cubed
- 1/2 teaspoon fine sea salt
- 1/8 teaspoon garlic powder
- 1/8 teaspoon onion powder
- 1/8 teaspoon paprika
- Small pinch of cayenne
- 2 tablespoons ice water
Instructions
- Shred the cheddar cheese by hand or with a food processor attachment.
- Add the shredded cheese, flour, butter, salt, garlic powder, onion powder, paprika, and cayenne to a food processor with the standard blade.
- Pulse the mixture until it resembles coarse crumbs.
- Gradually add the ice water while pulsing until the mixture becomes slightly moist and starts forming into dough.
- Transfer the dough to a large mixing bowl and knead it until smooth. Shape it into a ball, cover with plastic wrap, and chill in the fridge for 1 hour.
- Preheat the oven to 375°F. Line baking trays with parchment paper and set them aside.
- Divide the dough in half, keeping one half covered in the fridge. Roll out the other half on a lightly floured surface to about ⅛ inch thick. Try to shape it into a rectangle.
- Cut the dough into 1-inch squares with a pastry cutter or pizza cutter. Gather any edges for reuse later and chill them in the fridge.
- Use a toothpick to make a small hole in the center of each square. Place the crackers on the prepared baking sheet, ensuring they don’t touch.
- Bake for 14–15 minutes until puffed, dry on top, and slightly browned at the edges. Let them cool completely on the tray.
- While the first batch bakes, repeat the rolling and cutting process with the second half of the dough, and then bake.
- Gather all scraps, roll them out, cut into squares, and bake as your final batch.
- Enjoy immediately once cooled.
Notes
- Freshly grate your cheese to avoid clumping agents in pre-shredded varieties.
- Cold butter ensures a flaky texture.
- Avoid overworking the dough to keep the crackers tender.
- Bake until golden brown for that signature crunch.
- Let the crackers cool completely before storing to keep them crispy.
- Experiment with different cheeses to create new flavors.
- These crackers freeze well for later use.


